Basic Tech Guide
This page is meant to help as a reminder to basic startup, setup, and running of tech in the sanctuary and does not replace in-person training. If you are not trained on how to use the tech in the sanctuary please contact Zachary to get required training.
Table of Contents
Turning Things On
- Sequence Up (turn the key under the soundboard 180°)
- This is needed for running anything (sound, media, lights, video) and will turn everything on
Media
Opening Program
- Open ProPresenter (orange icon on dock)
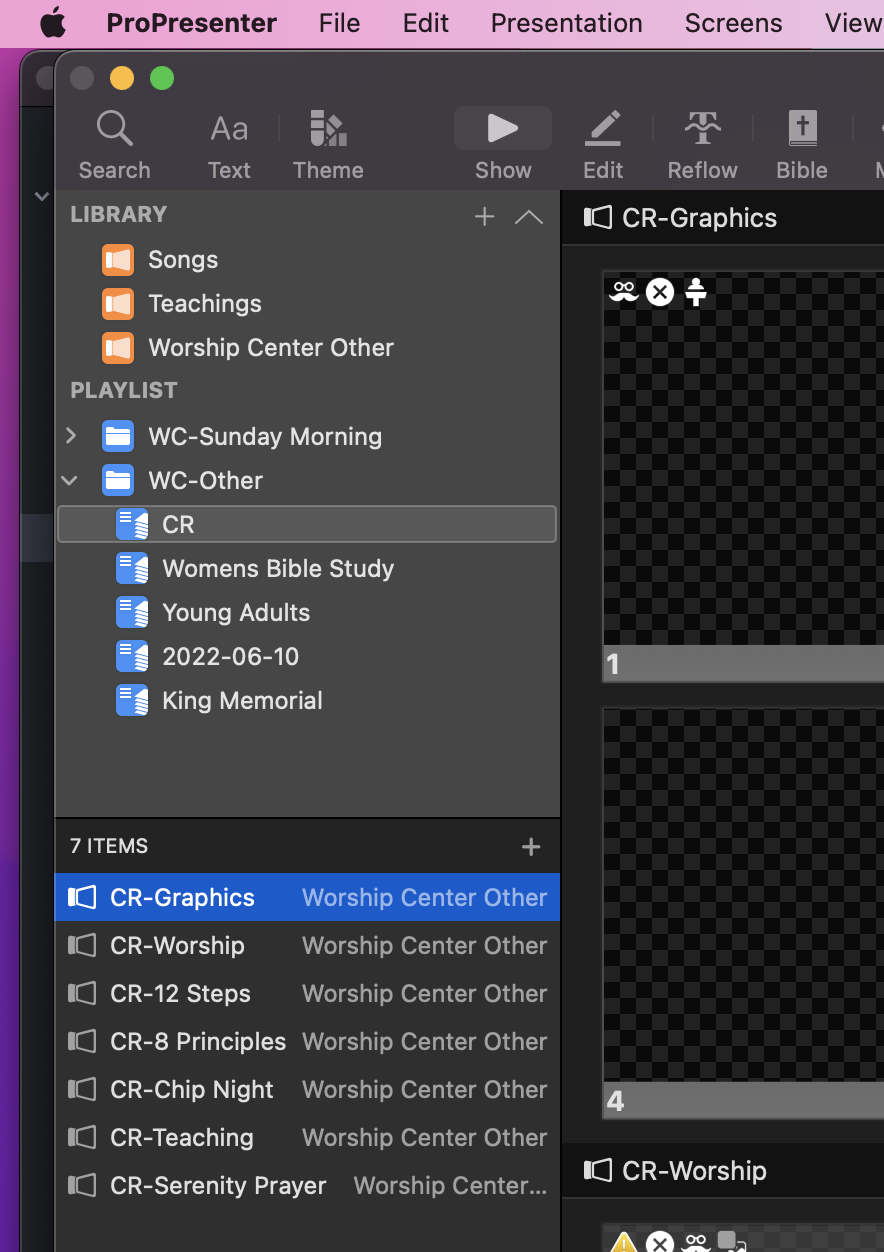
- On left of screen find playlist you need
- WC-Other expanded in picture to show contents
Running Media
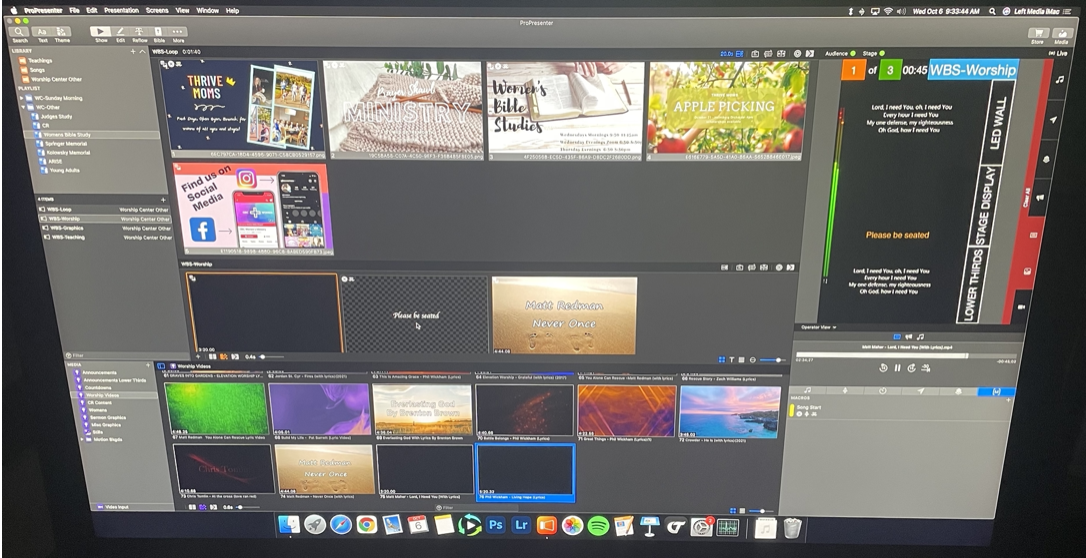
- Click on Item below playlist to load to center section
- Click on slide in center section to display on screen
- On the right you will see what is being displayed on the screens
- If you need to clear the screen or stop anything you can click clear all on the right
- Clear all is the red vertical bar next to the output display
Sound
Load Default
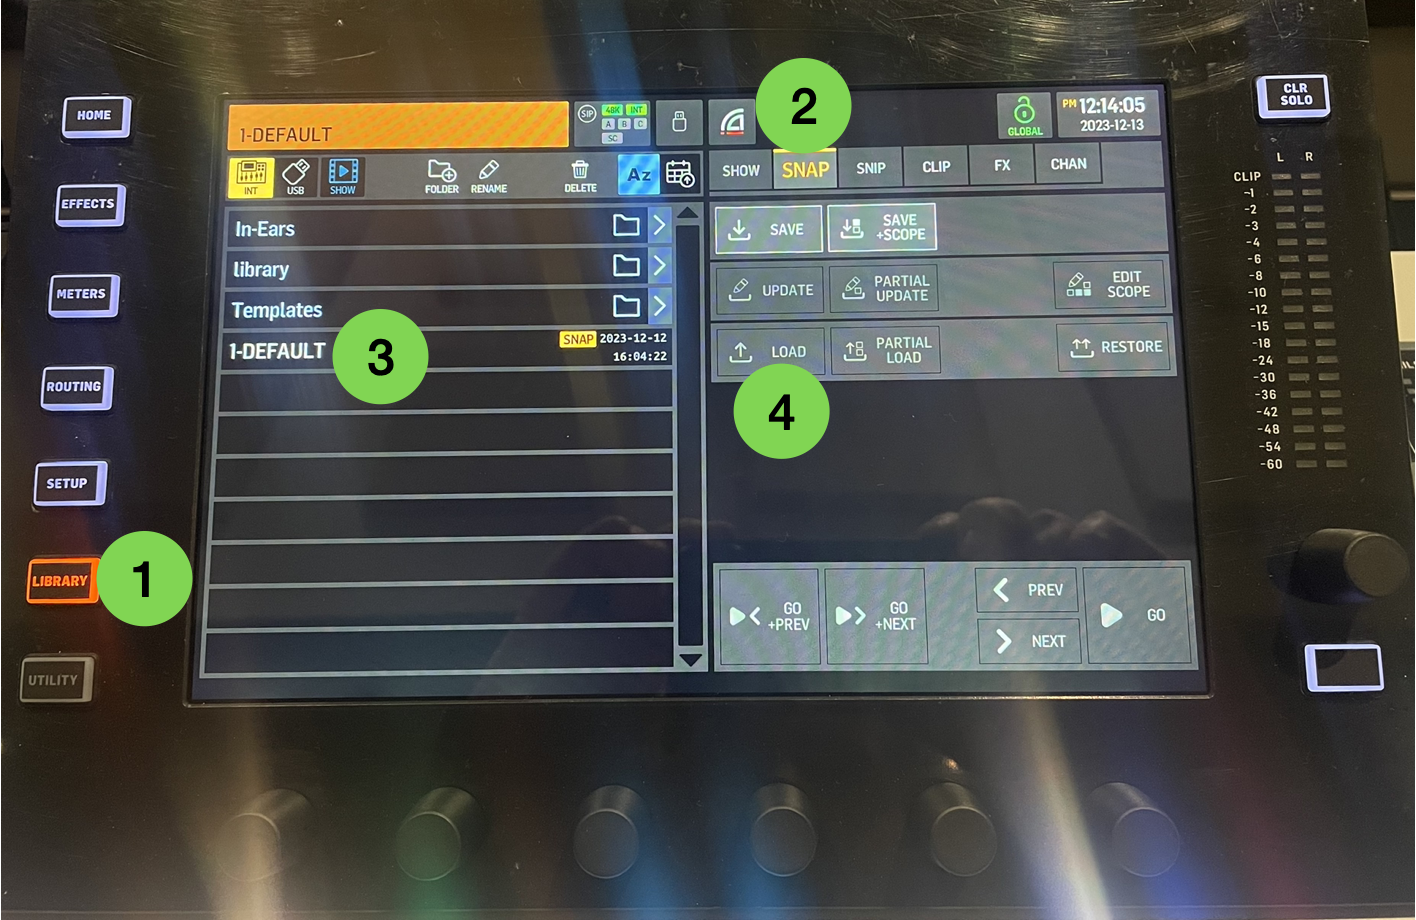
See Picture Below
- On Wing (in sound booth) press Library (#1 in picture)
- Ensure SNAP tab is active (tap if not yellow see #2 in picture)
- On Left scroll to top if needed
- Tap on 1-Default (#3 in picture)
- Click Load on Right (#4 in picture)
- Click Confirm
- Click “User 1” and use center section for iMac, iPad, handhelds, and headset
- Wireless microphones are located in video booth on chargers
- ** Important note, the mains are muted be default when the board turns on **
Lights
Open Program & Load Show
- Turn on lighting computer (button by key to turn system on) and log in
- Open Default.lightkeyproj on Desktop
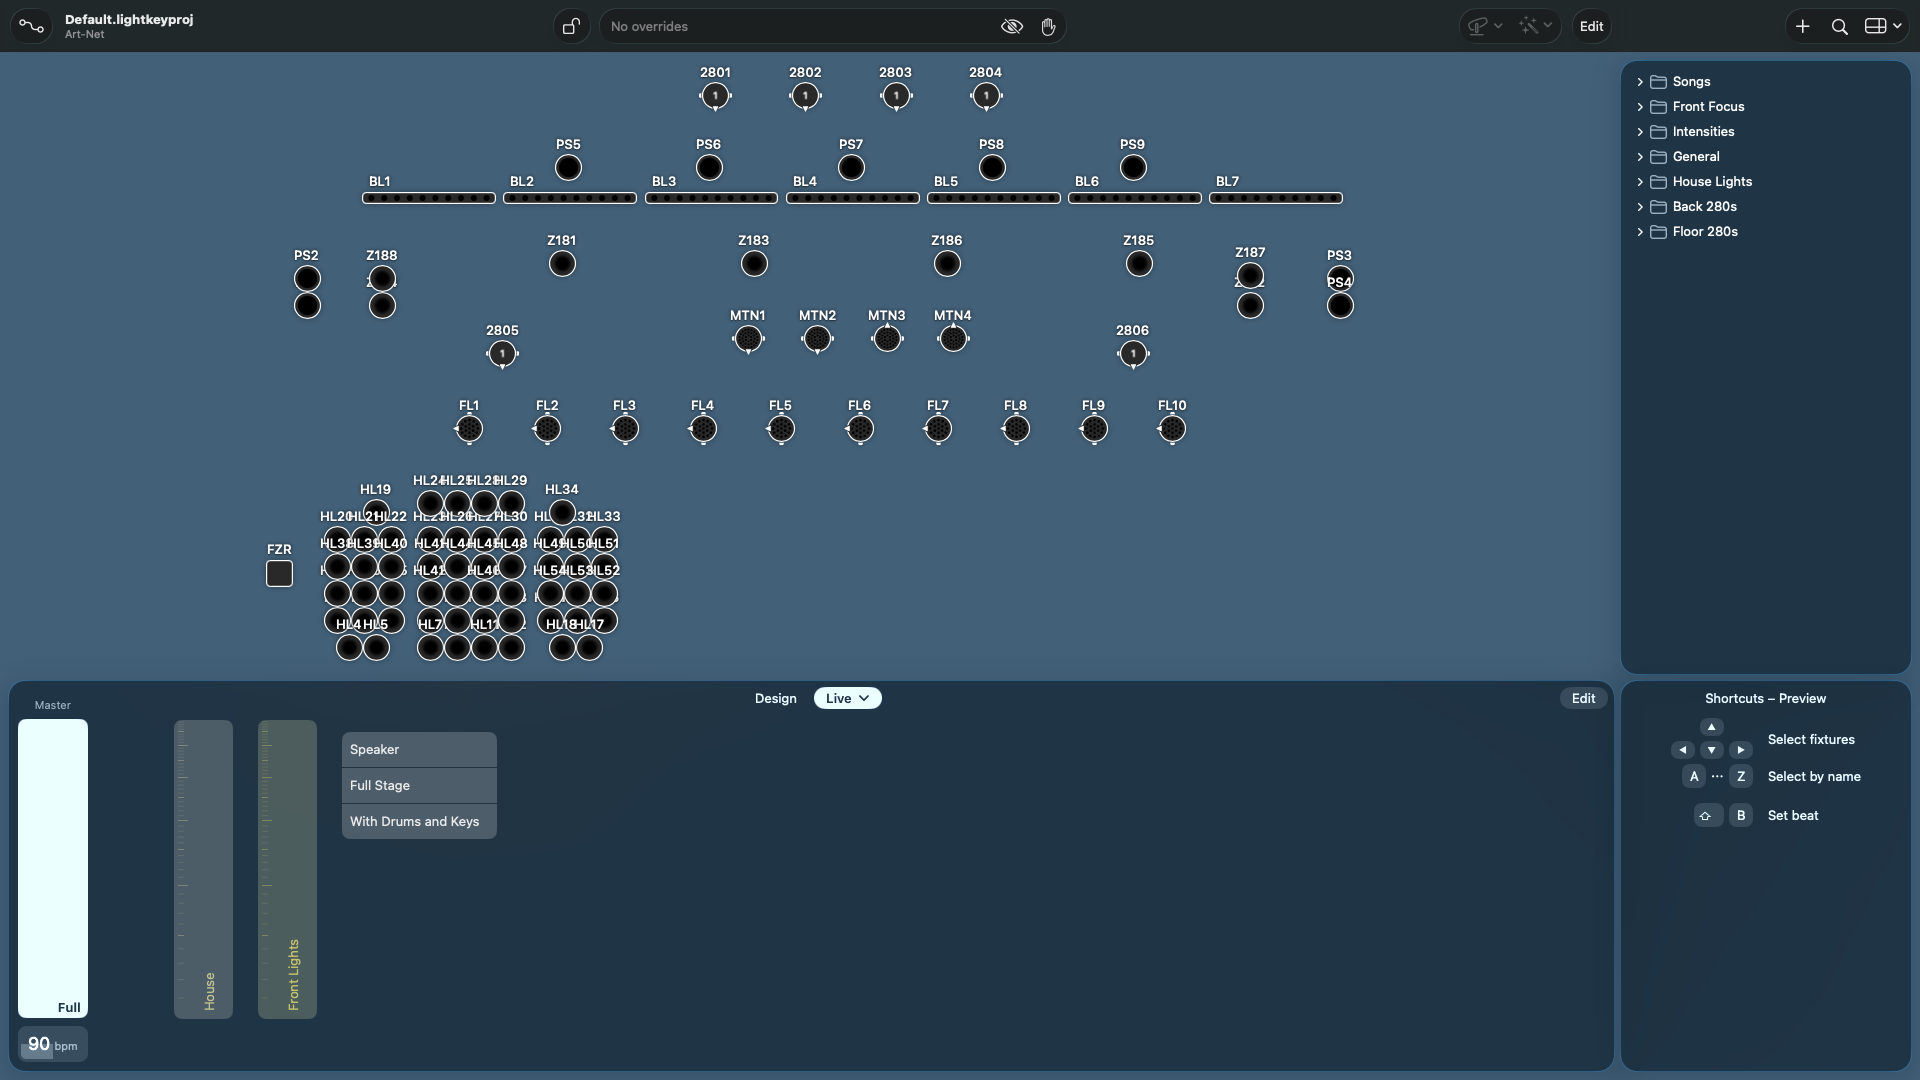
- If needed, click Live on the top of the bottom box so the screen looks like the picture below
- To use the lighting board (X-Touch), turn it on using button on back right
- The A light on the bottom right of the board above “LAYER” should turn orange when the board is on, if B is orange, press A
- On wall, flip switch from “WALL” to “COMPUTER”
- Flip back to “WALL” when finished
Running Lights
- On left side of screen is a fader for the master, house, and front lights
- Click on the button to right of faders (speaker, full stage, or with drums and keys) then pull up faders or use lighting board to turn lights on and off
- Labels below fader on board show which ones are house and speaker, also the far right fader is the master
- Test before service to determine what you will need/want
Do not make any changes to the file, default file is reset upon reboot
Video
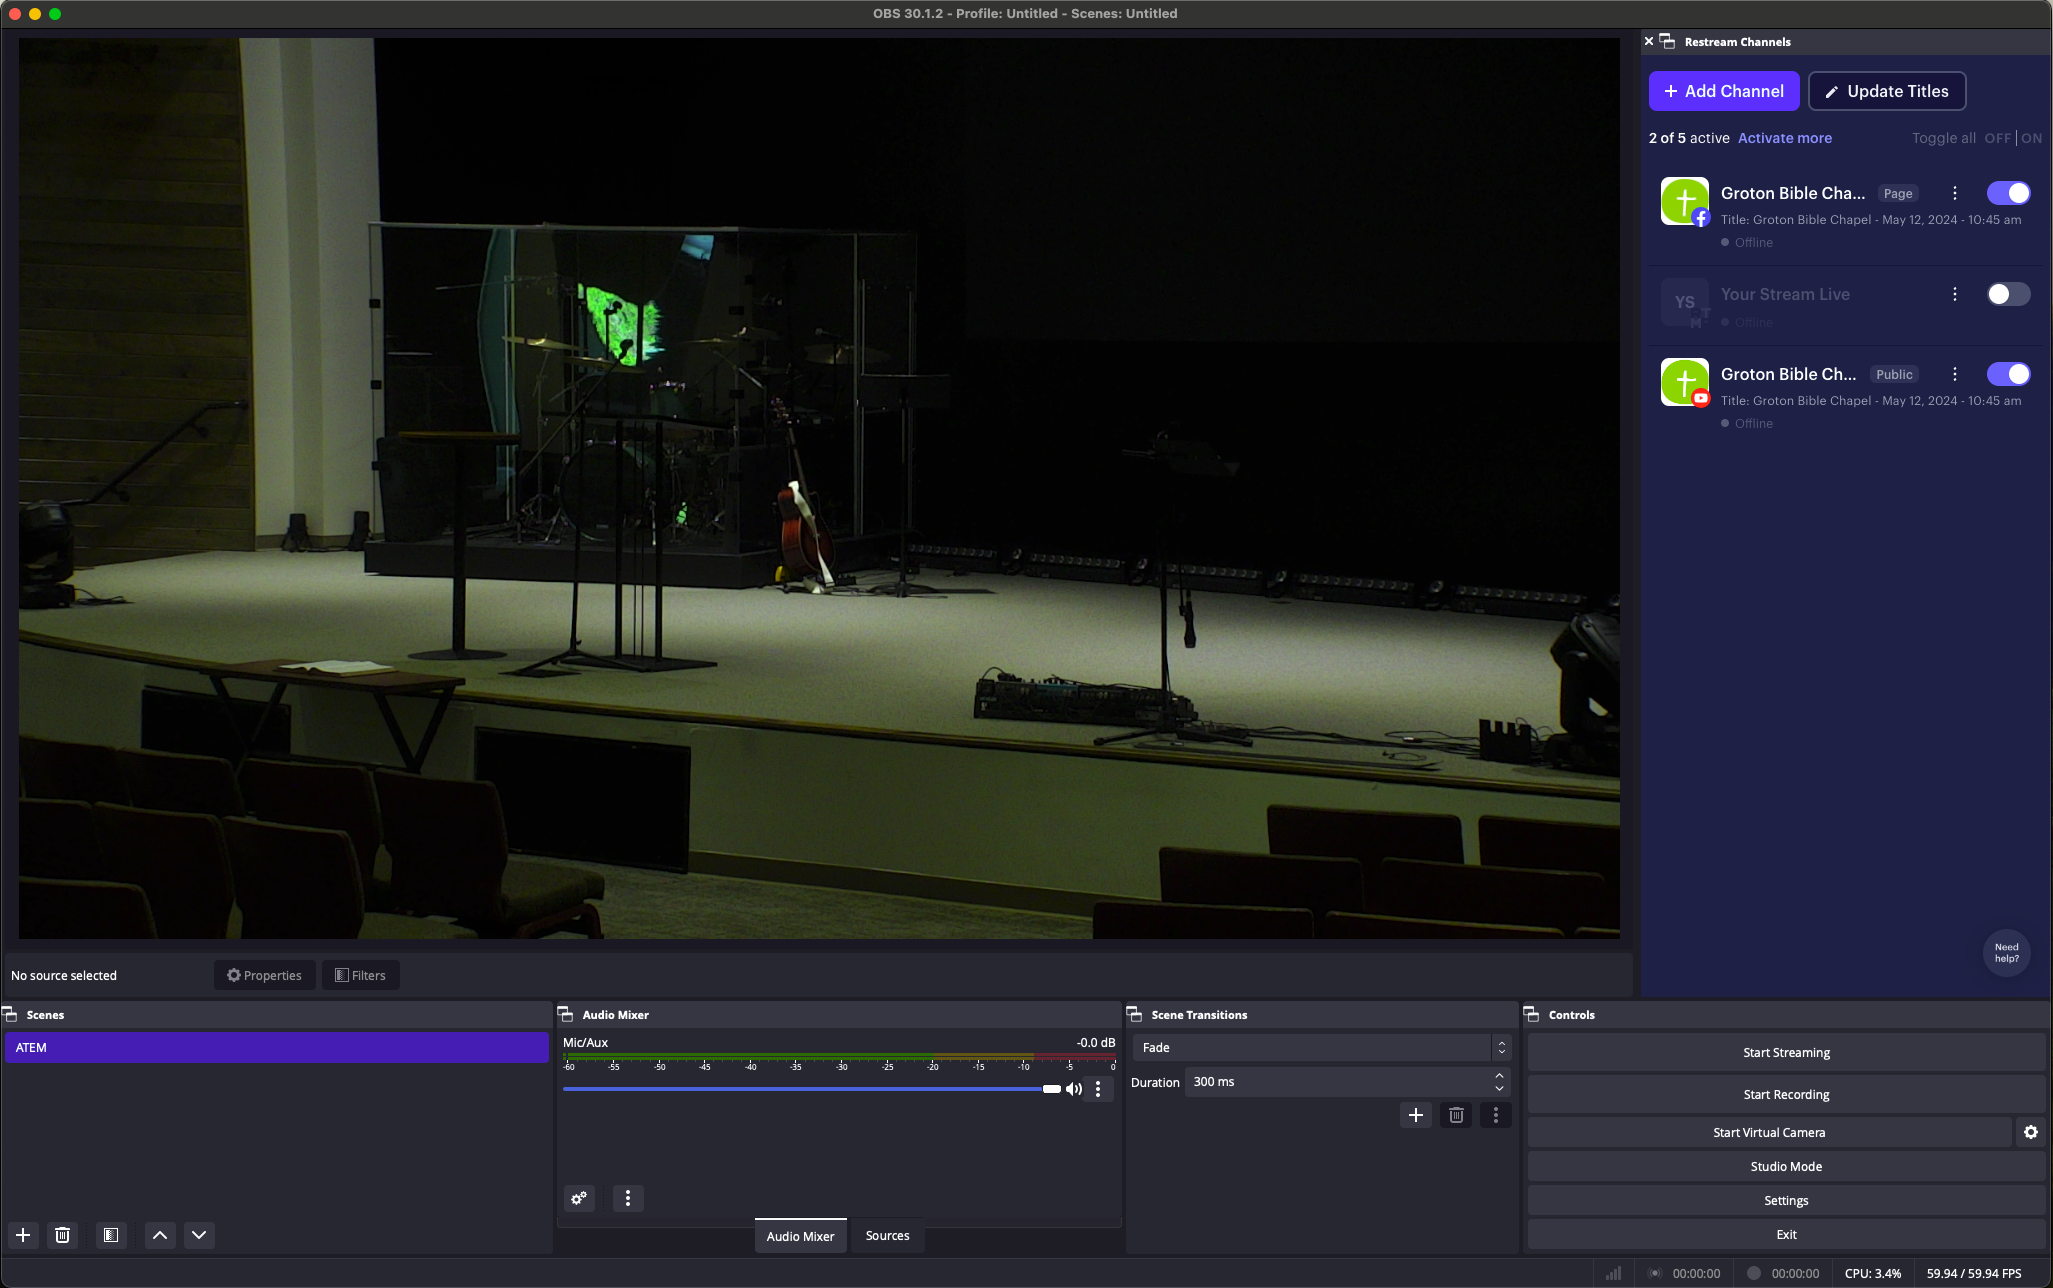
Setting Up Camera System
- Log into recording computer
- It will start OBS and ATEM automatically
- Click on ATEM (program on bottom)
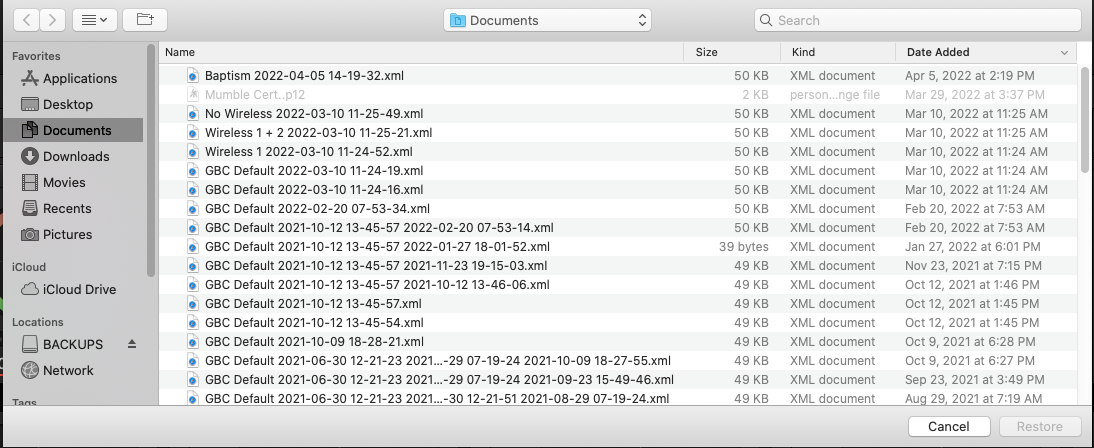
- Click File > Restore
- Choose Default
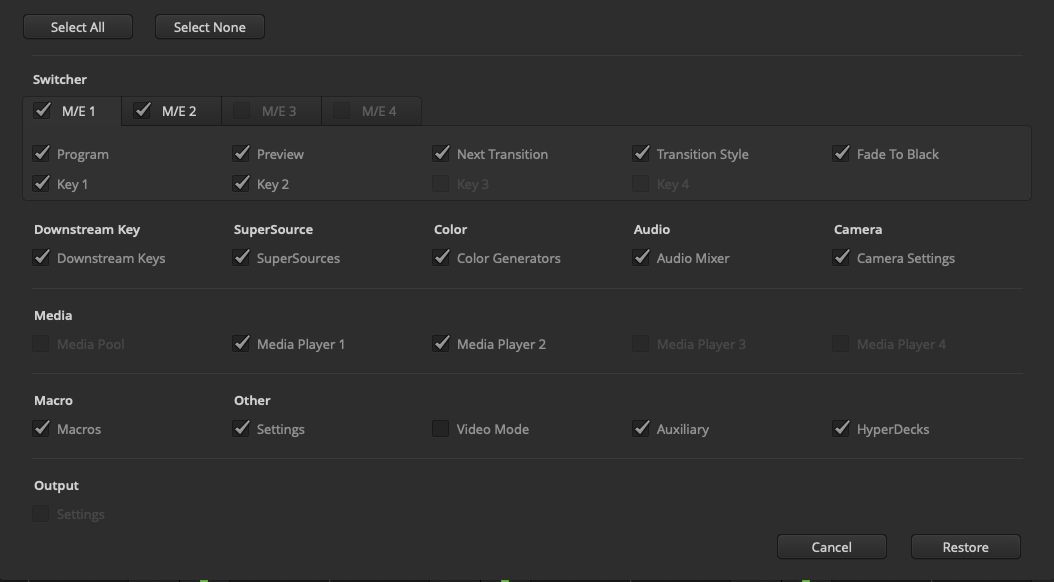
- Click open, then restore again on the next window that pops up (see pictures below)
- On the streamdeck press PTZ ON to turn PTZs on (it takes about 20 seconds for them to turn on)
Choosing a Camera
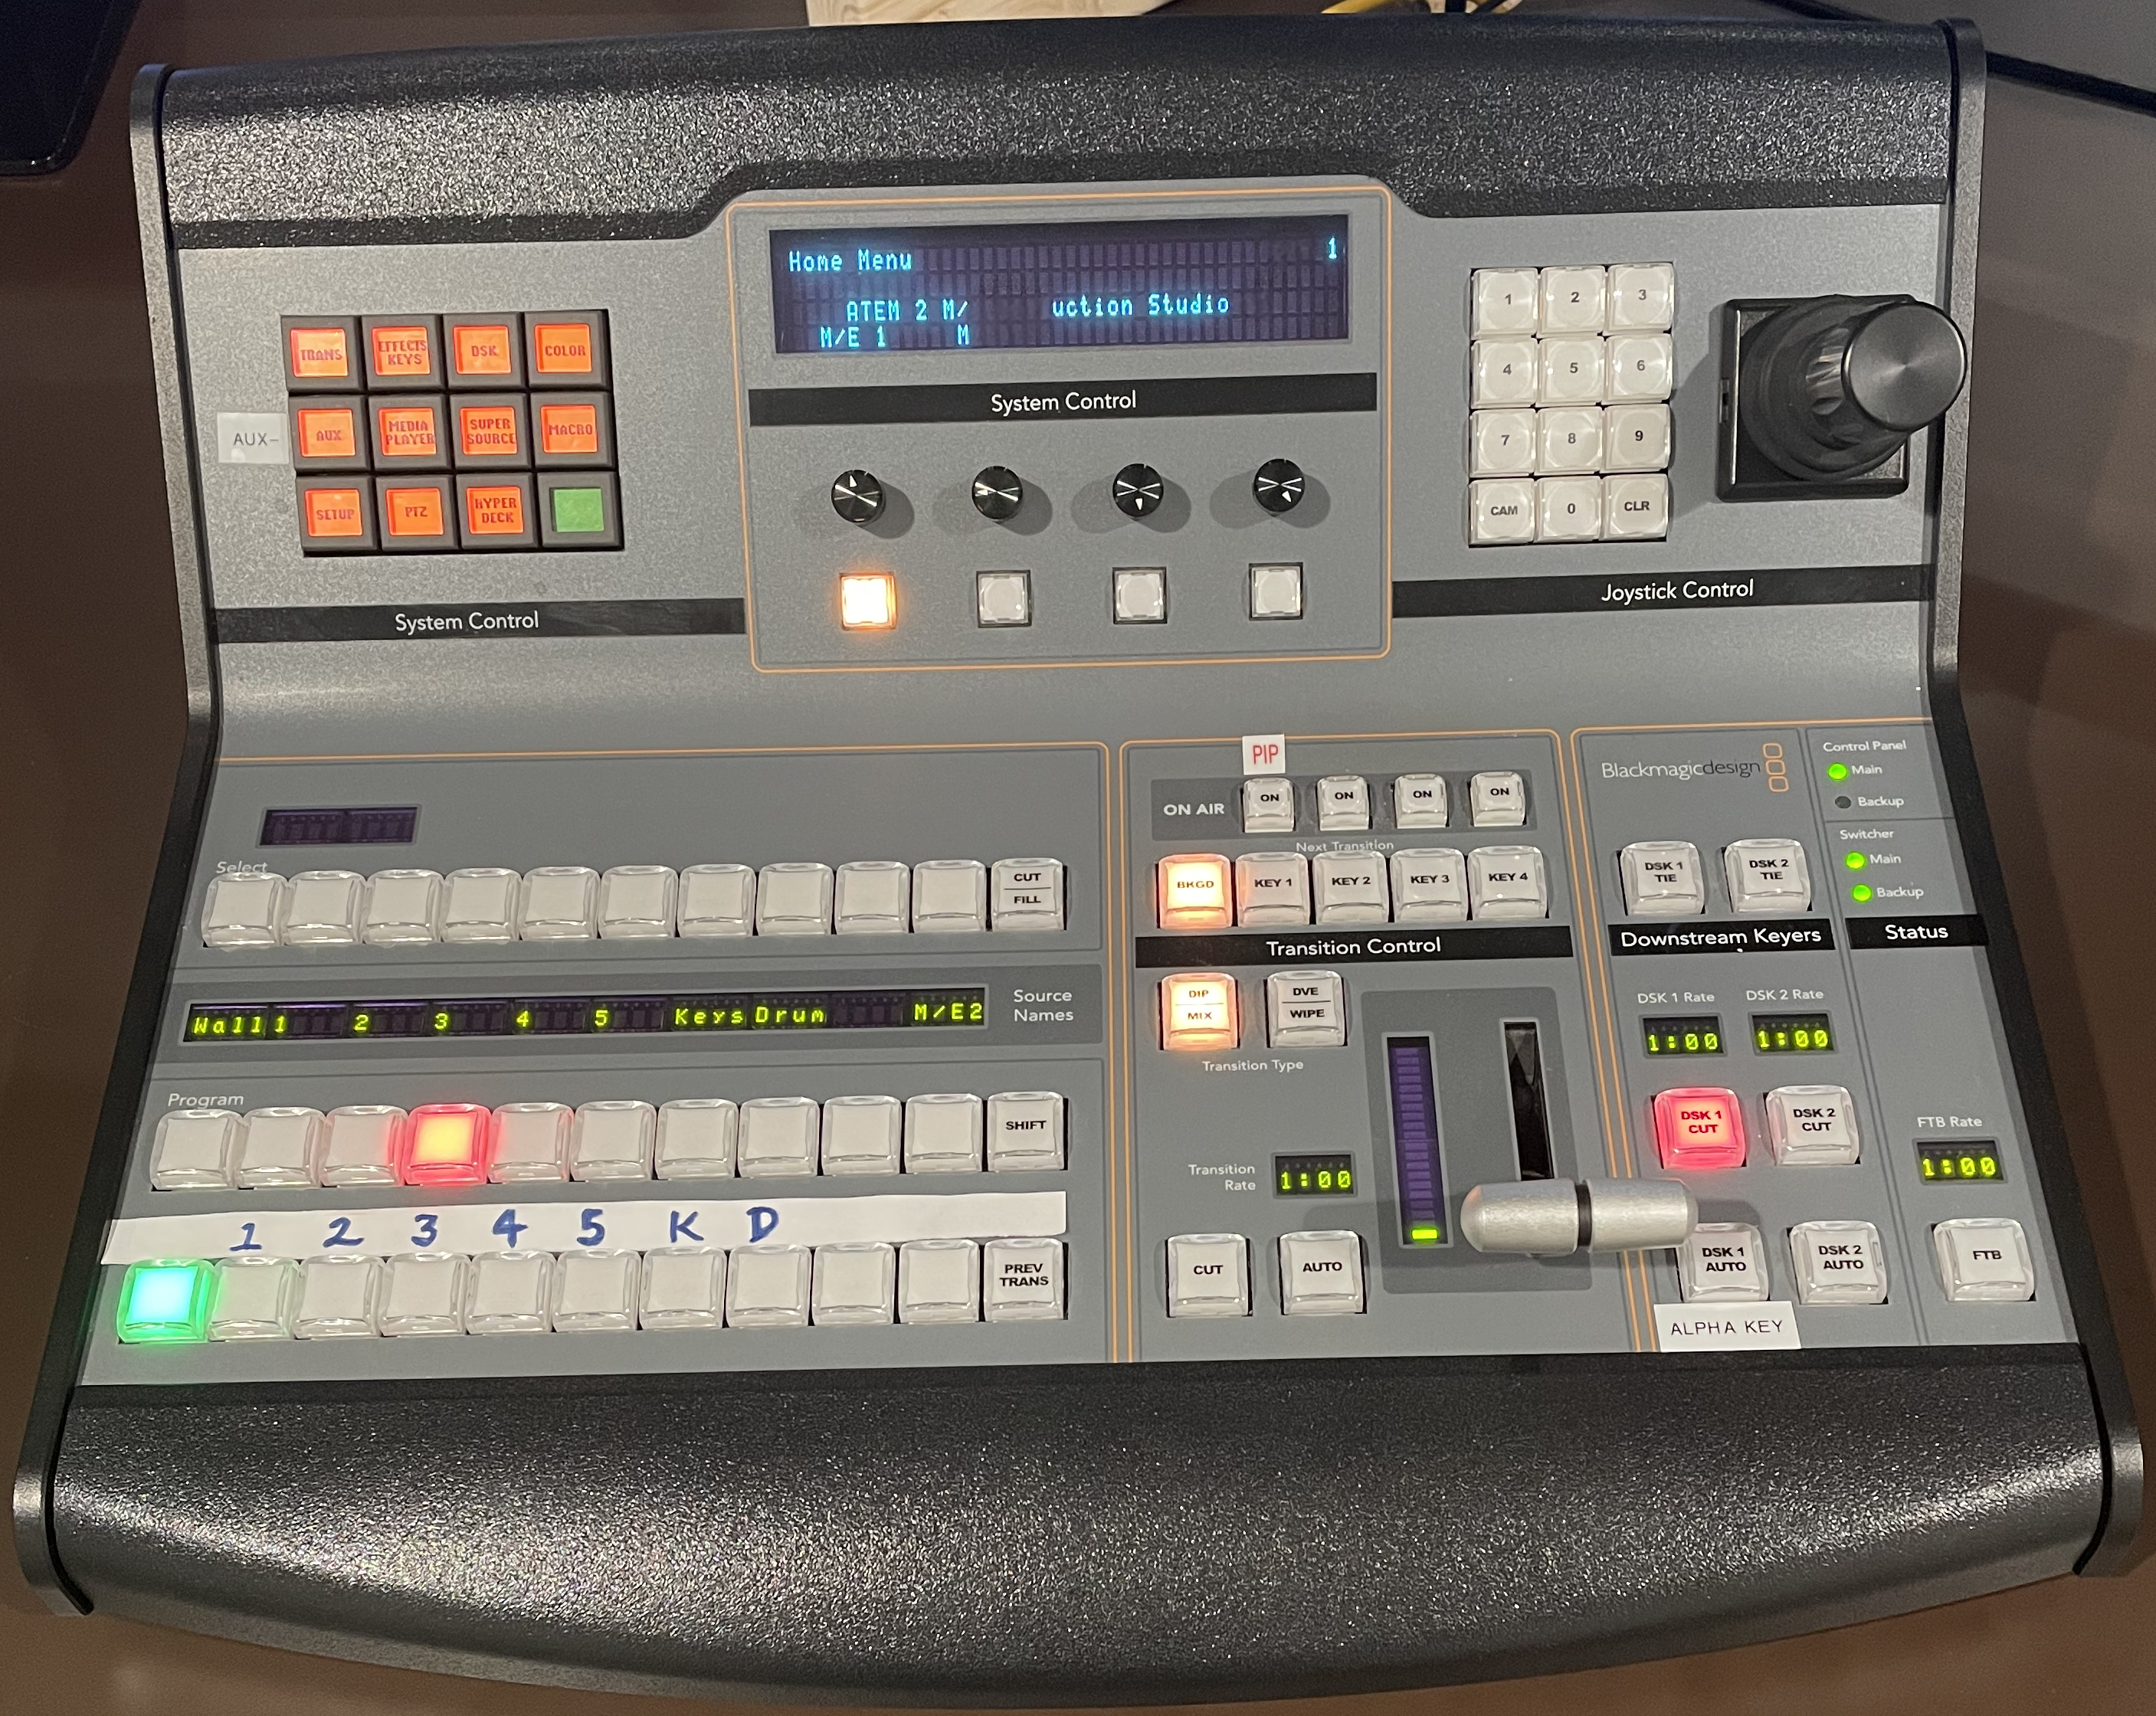
- Press 3rd button on middle row of director controller (see picture below)
- The one below number 3
- For a wide shot showing the LED wall as well as the speaker (such as for a verse or something on the screen to be shown on video) press the button under label “wide”
- You can press the second row to make it on preview window and then press the cut button to switch between preview and live
- Press “DSK 1 CUT” on right side of controller if Red, if not Red don’t press button
Setting Camera
- Turn on the PTZ controller if not already on
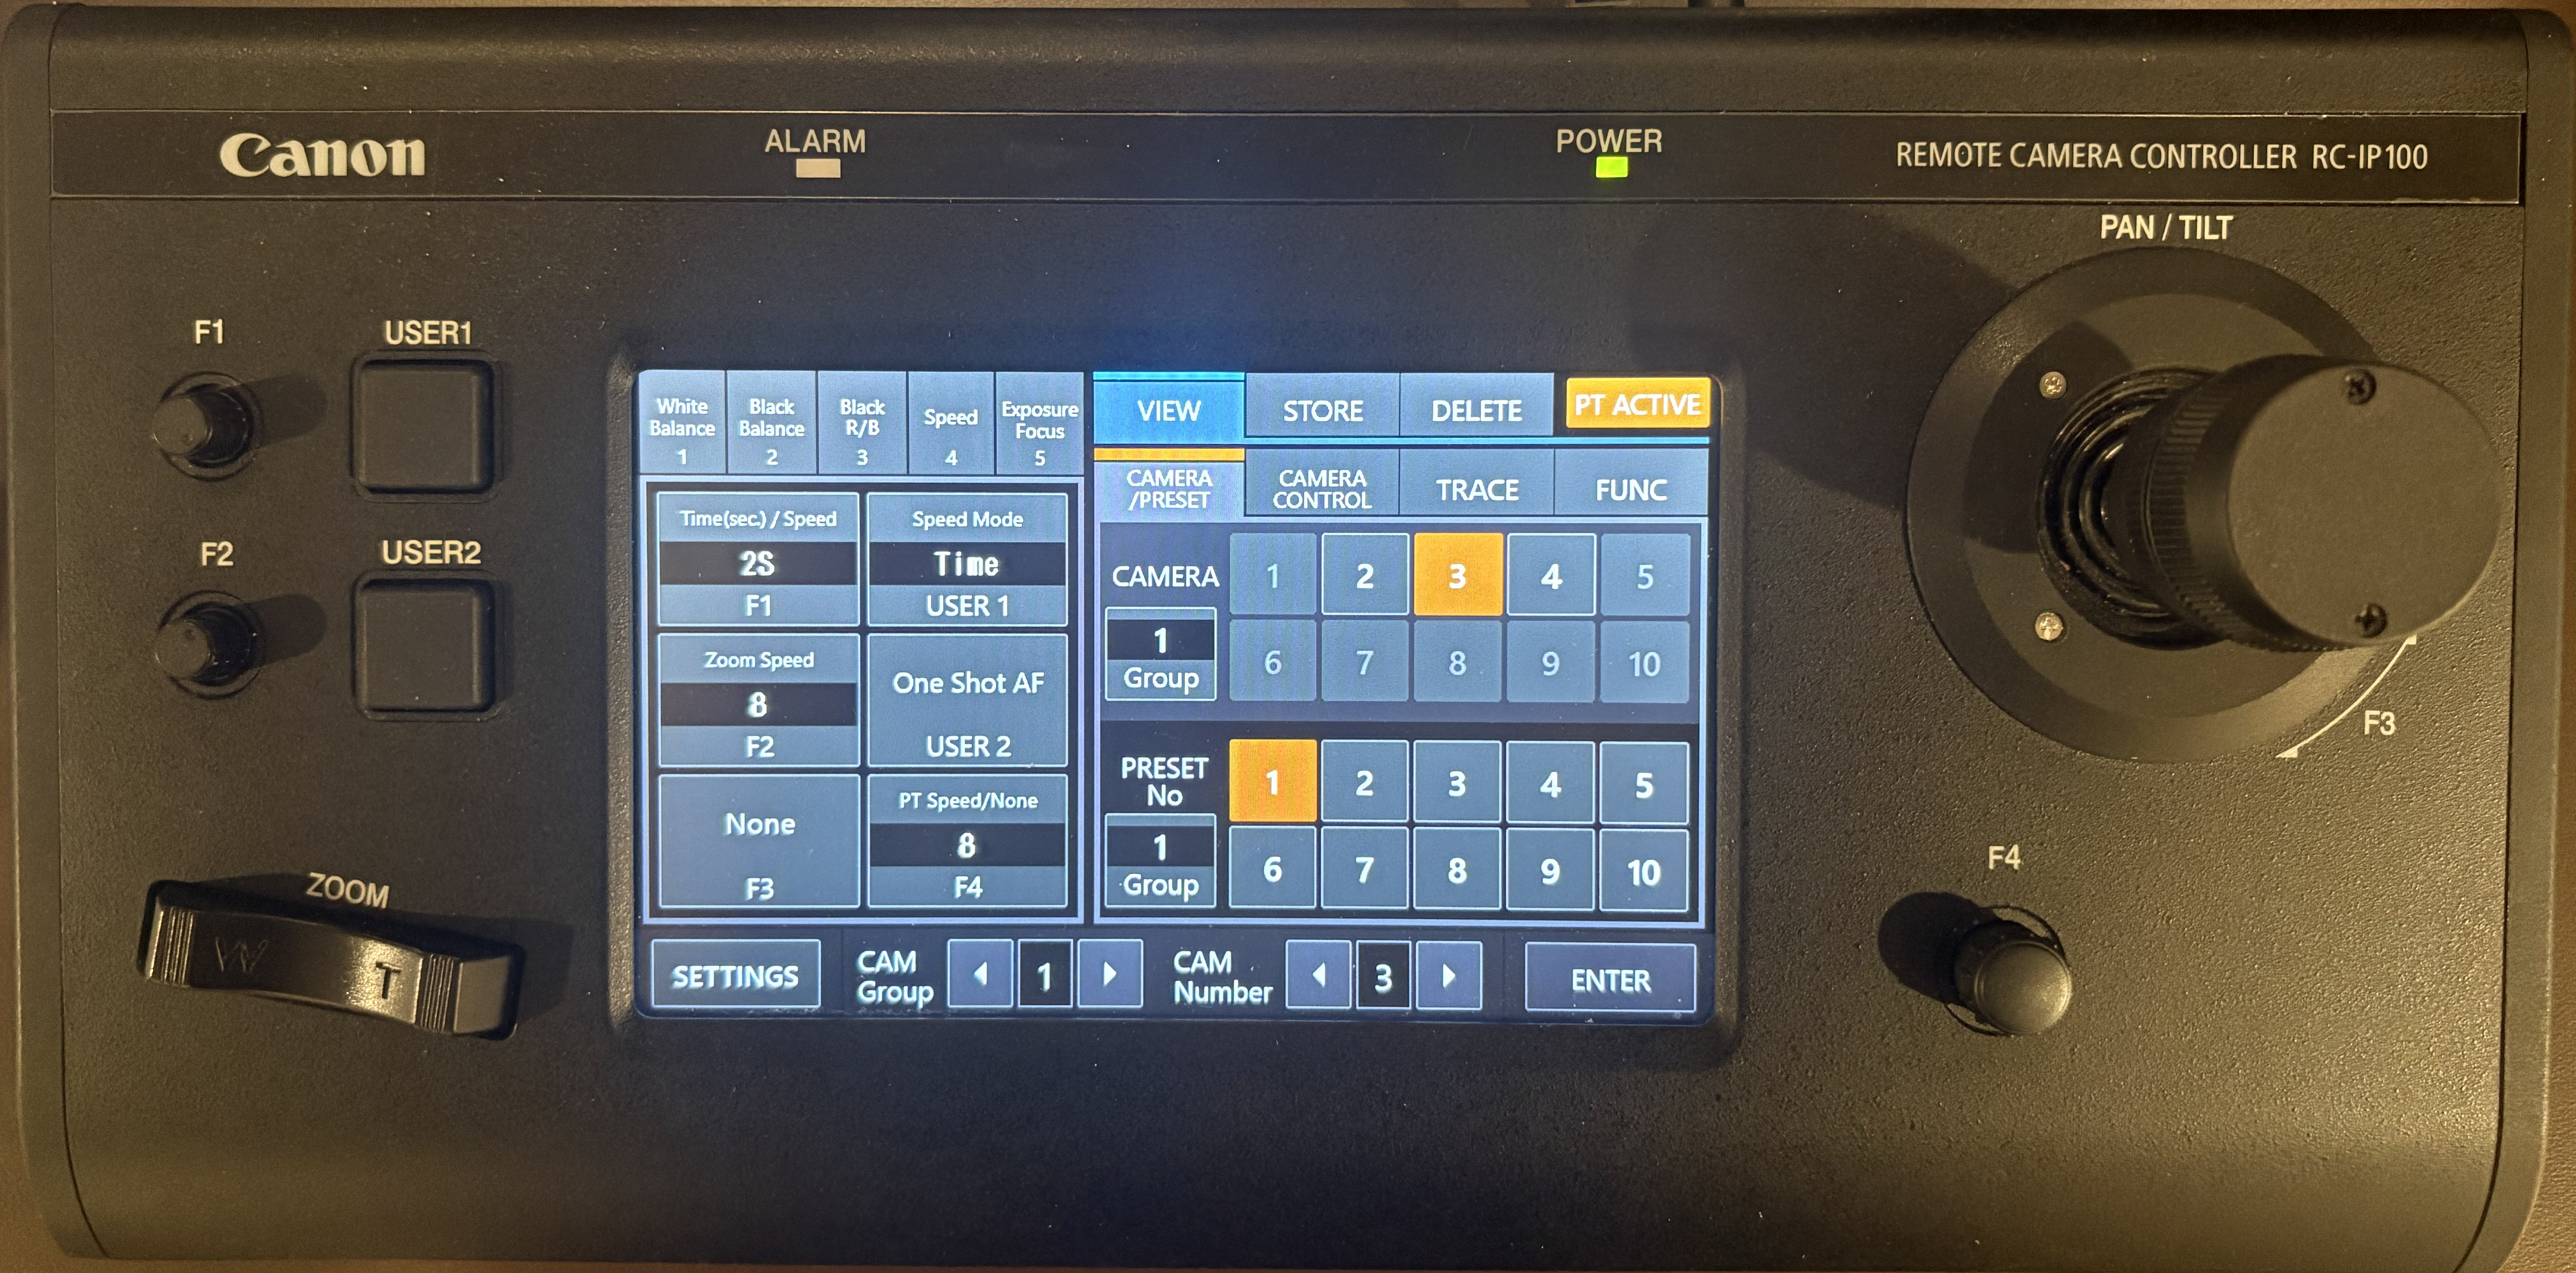
- Press the 3 in the Camera group (see picture below)
- Use the joystick to position the camera and the zoom on the left to zoom in and out
- If camera is moving too fast, set zoom speed to 2 using F2 dial and PT Speed to 2 using F4 dial
Recording or In House Streaming
Soundboard Setup
See picture below for video booth soundboard setup
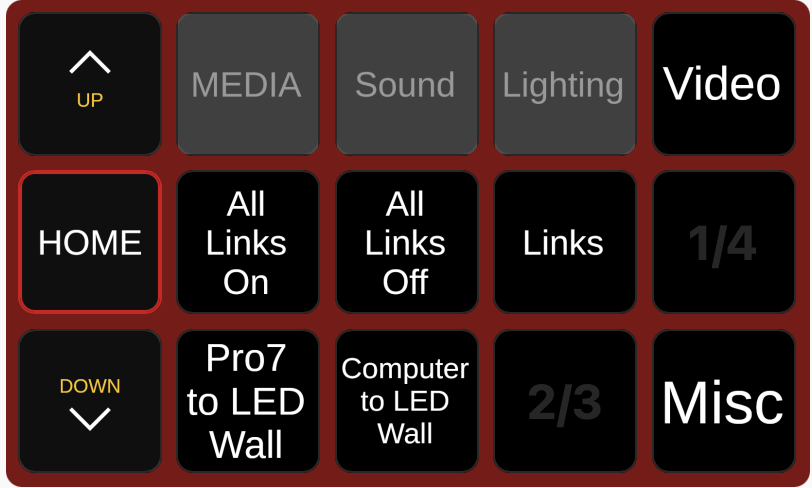
- On streamdeck, press the left center button until you are at the home screen (see picture below)
- Press the Sound button
- Press the M32 Load Default button on the bottom row
- Set far left faders to max (1&2 are linked to pulling one up will pull up both)
- Use master faders to set volume (should be around -10 on the multiview)
Video Recording
- Prior to the start of the service click the record button on the bottom right of the OBS window (it should turn blue)
- Do Not Click Stream
- Make sure that the video on the computer screen is correct
- Click Stop Recording to stop the recording